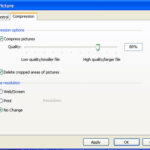
Compress images in Visio
This morning, I realized my Visio wireframe was taking longer and longer to save. Totally out of curiosity, and because [...]
I’ve been using Omnigraffle for a few years now. But I only recently managed to crop images directly in it. It’s definitely useful, as it avoids opening Photoshop and lets you try different alternatives directly on your wireframe. It was quite evident in Visio, but quite hard to find in Omnigraffle, which makes it kind of a secret. Here is a few steps tutorial to learn how to crop images in Omnigraffle.
This part is easy, right? You just drag and drop your image on your wireframe. The image is automatically imported as stretched. You have to change this in order to crop your image.
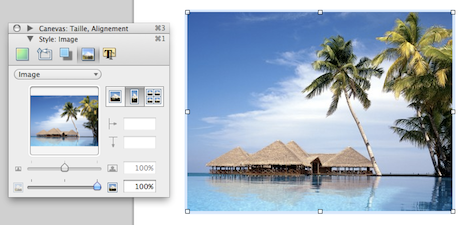
Open the image inspector (Menu / Inspectors / Style / Image). You can see the stretched status is selected. Just click on the Natural size button.

From now, you can modify the size of the image within the area (first cursor, point 2) and move the position of the picture in the area (thumbnail, point 1). Here you go! Cropping in Omnigraffle is actually more modifying the size and position of the picture in the area. Quite similar to InDesign in a way. But well, it does the job quite well.

This morning, I realized my Visio wireframe was taking longer and longer to save. Totally out of curiosity, and because [...]
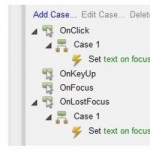
Simple text fields are a basic widget in Axure library, and one often needed. Instead of just dropping a text field on [...]

Data visualization is a more and more important part of UX projects nowadays, and an aspect of UX that I am really fond [...]